
Outer Wilds Ship Log Guide: Symbols and Missing Clues
Use the Outer Wilds ship log to follow rumors, read map symbols, and track down missing entries, with targeted tips for Chert, the Vessel, and other clues.
Jump to
How to Access and Use the Ship Log
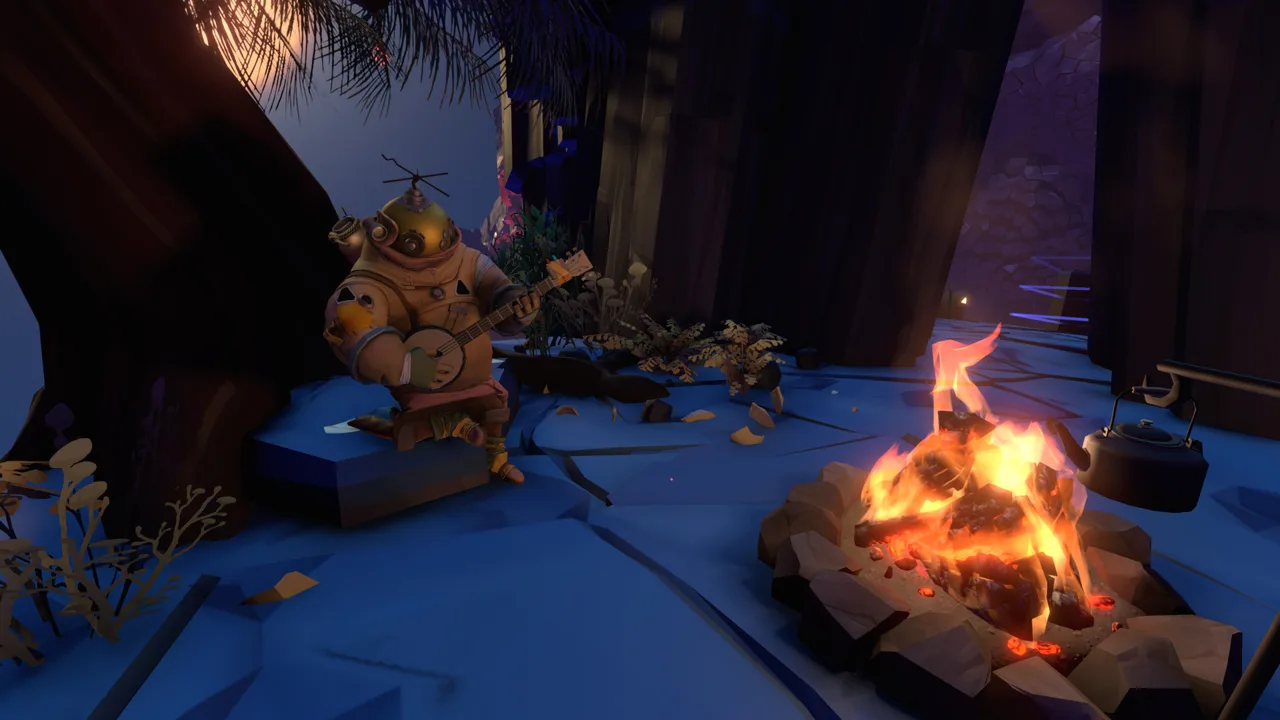
The Outer Wilds ship log turns scattered discoveries into leads you can follow. Open it at the computer in the rear section of your spaceship to review what you’ve learned and spot unfinished investigations. Before your next launch, use those entries to choose a question you want to answer.
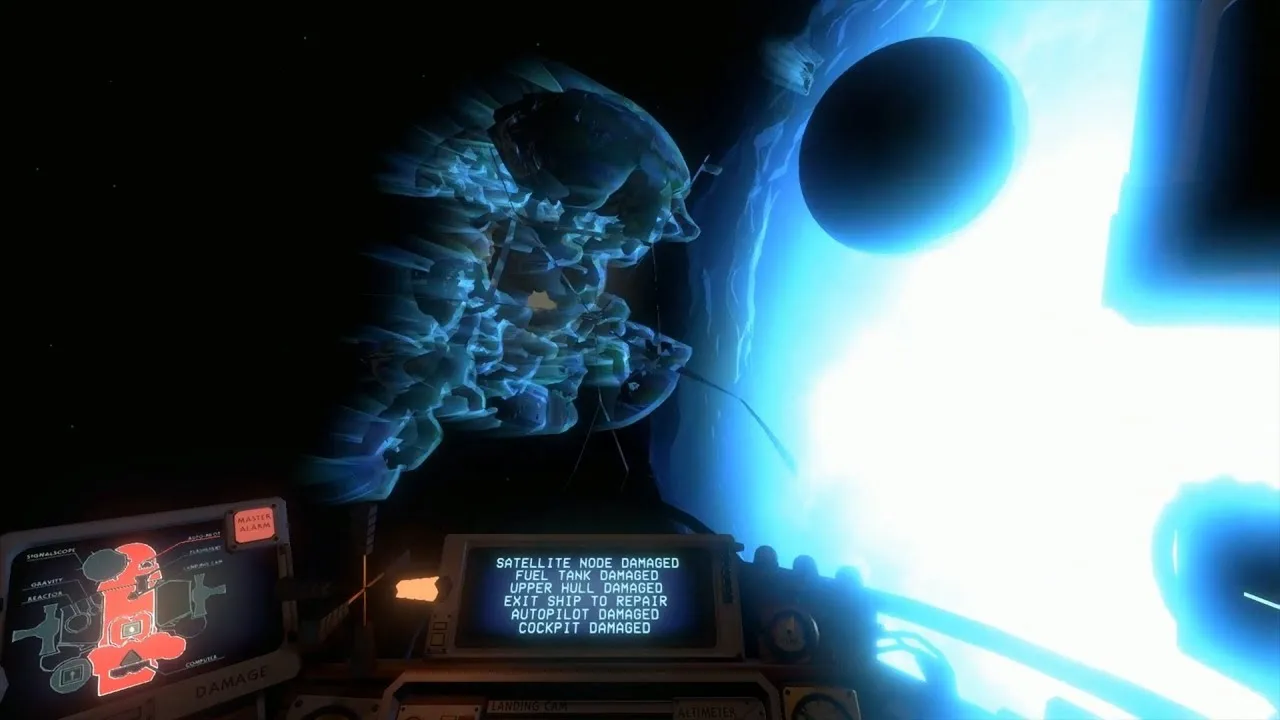
The computer offers two views: Map Mode organizes discoveries by celestial body, while Rumor Mode connects related information. Both display your discoveries, but each helps with a different task: finding an entry by location or understanding how clues fit together.
The sections below begin with interface help. Specific locations and missing-entry tips contain exploration spoilers.
Official page: Outer Wilds (mobiusdigitalgames.com)
Map Mode, Rumor Mode, and Log Symbols
Switch views when an investigation gets difficult to follow. A clue discovered on one planet can explain something somewhere else, which makes the connections in Rumor Mode especially useful.
| View or symbol | What it tells you |
|---|---|
| Map Mode | Groups entries by the planets and structures associated with your discoveries |
| Rumor Mode | Displays relationships between discoveries |
| Green exclamation point | An entry contains new text you haven’t read |
| Orange asterisk | There is more to discover at that location |
Use Map Mode for Location Cleanup
Choose Map Mode when you remember where you explored but need to review the details. For example, check Ember Twin’s entries together when revisiting its caves, settlements, and research facilities.
Pay attention to smaller entries beneath a larger location. The High Energy Lab includes Ash Twin Tower Designs, while the Black Hole Forge includes the Alignment Angle Diagram. Open those supporting entries when reviewing the parent location.
Use Rumor Mode to Follow an Investigation
Choose Rumor Mode when you have a question that spans several destinations. Read the connected entries and look for information that explains a mechanism, identifies another location, or gives context to something you’ve already seen.
Your layout can differ from another player’s because discoveries can form connections in a different order. Compare entry names and their text when checking progress against someone else’s screen.
Read New Text Before Following an Orange Marker
A green exclamation point means you have something new to read. An orange asterisk points toward further exploration. Clear up that distinction before revisiting a location: opening an unread entry and finding an undiscovered clue are separate tasks.
Turn Unfinished Entries Into Your Next Expedition
Use the log to set a specific objective before taking off:
- Read the newest text. Look for a destination, experiment, or unanswered question.
- Review related entries in Rumor Mode. Connect the clue to information discovered elsewhere.
- Check the location in Map Mode. Review its smaller entries alongside the main one.
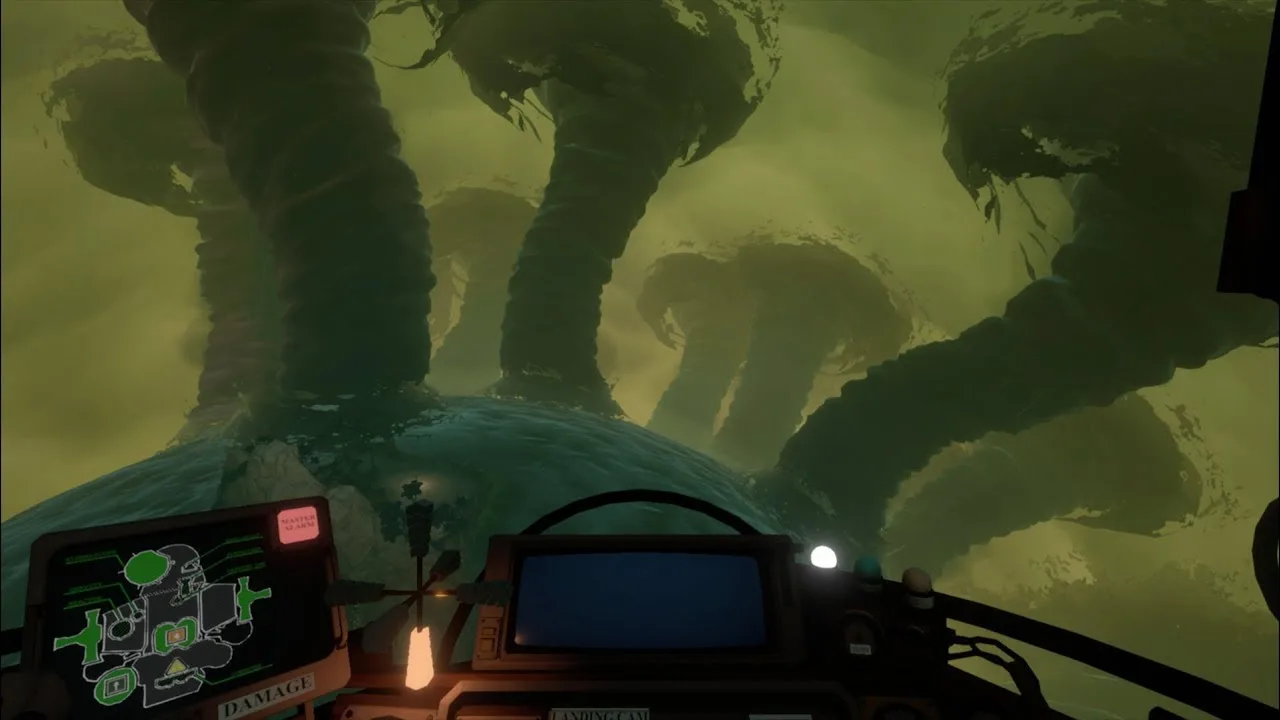
- Plan around environmental changes. Reach sand-filled locations earlier or revisit changing terrain at another point in the loop.
- Review the log after exploring. Read the additions before choosing your next destination.
Timing deserves particular attention. Ember Twin’s underground locations can fill with sand, while Brittle Hollow’s surface breaks apart. If a route becomes inaccessible, plan the next visit around the change that blocked you.
Match your tools to the clue, too. The Dark Bramble Seed on Timber Hearth has discoveries tied to both the signalscope and the Little Scout. When an entry describes a signal or an opening, investigate with the relevant tool.
Missing Entries: Places and Conversations to Revisit
 Image: Steam / Mobius Digital
Exploration spoilers below. These checks point to specific information without reproducing the major story revelations.
Chert’s Camp: Return Throughout the Loop
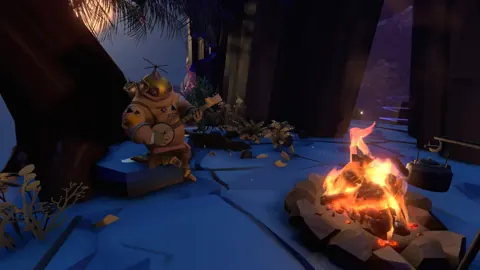
Chert’s dialogue changes during the cycle. Visit their camp at Ember Twin’s north pole early, return later, and speak with them again around the final warning music.
The camp has five log facts covering Chert’s observations and changing response to events. If you’ve only spoken with them once, revisit at different times and explore the available dialogue.
The Vessel: Look Below the Main Room
The Vessel has six log facts, including information from a recording that is easy to overlook. Follow the stairs beneath the main room and inspect the recording there.
Include both the bridge and the lower area in your search. Reaching the ship and interacting with its central controls covers only part of what you can learn.
Nomai Mines: Search the Waterways
On Timber Hearth, look beneath the circular platform outside the Nomai Mines. Explore the water below for writing about the lifeforms the Nomai encountered.
That discovery belongs with the mining site’s history, so include the surrounding waterways when checking the area.
Old Settlement: Inspect Each Mural Panel
Brittle Hollow’s Old Settlement includes three separate mural-panel entries. Inspect the full sequence rather than stopping after one image.
The panels cover different moments in the Nomai’s arrival. Check each panel when your settlement entry appears familiar but your log still has gaps.
Statue Island: Examine the Beach Statue
Visit the statue on the beach and look closely at it. Statue Island and the Statue Workshop have separate discoveries, so review both entries during cleanup.
Quantum Grove: Look Beyond the Moving Rock
Timber Hearth’s Quantum Grove includes a poem written on one of its trees. Search the trees as well as the quantum shard.
Dark Bramble Seed: Use Both Tools
At the seed on Timber Hearth:
- Aim your signalscope at it to investigate the music.
- Launch the Little Scout inside and examine what it reveals.
These actions contribute different information to the location’s entry.
Bramble Island and Hollow’s Lantern: Check Smaller Destinations
Bramble Island on Giant’s Deep has its own entry. Visit the thorn-covered island and inspect the frozen jellyfish there.
Hollow’s Lantern also contains the Volcanic Testing Site. Include it in your search when checking the Nomai’s construction work; its discoveries concern material testing for a protective shell.
Archaeologist Achievement: Check Facts Within Each Entry
For Archaeologist cleanup, compare the individual facts inside entries rather than checking location names alone. You can recognize a destination immediately and still have missed a conversation, recording, or smaller discovery there.
Work through one celestial body at a time in Map Mode. Within each location, review:
- Main location text and any supporting entries.
- Separate mural panels, diagrams, and recordings.
- Conversations that change during the loop.
- Discoveries triggered by investigating with your tools.
Start with Chert’s changing dialogue and the recording beneath the Vessel’s main room if those checks sound unfamiliar. Then move through nearby entries instead of repeatedly flying between unrelated planets.
Don’t Restart for Hal’s Old Village Entry
An older Village entry records Hal’s response immediately after the observatory statue opens its eyes. That entry is not required for Archaeologist.
If it’s absent, continue checking other discoveries. Restarting to pursue that line won’t help your achievement cleanup.
Keep Older Checklist Names in Context
The old “Ash Twin Alignment Map” entry no longer exists. Look at the Alignment Angle Diagram associated with the Black Hole Forge when reviewing warp-alignment information.
Avoid treating every number in an older checklist as a target. Some older lists contain mismatches between their stated totals and the facts they actually display. Compare the substance of your entries, especially when a location name or grouping differs.
Echoes of the Eye Entries
The expansion adds discoveries on Timber Hearth and aboard the Stranger. Keep those entries grouped separately when organizing your exploration so their leads remain easy to follow.
On Timber Hearth, review the Radio Tower entry and its photographs. Aboard the Stranger, inspect supporting entries alongside the larger regions:
- River Lowlands and Cinder Isles: Slide Burning Rooms and burned slide reels.
- Island Tower: The Symbol Room.
- Hidden Gorge: The Damaged Laboratory and its experiment recordings.
- Abandoned Temple: The three map projections.
- Submerged Structure: The Subterranean Lake and Sealed Vault.
Read the descriptions of damaged reels carefully. They distinguish what you’ve actually seen from missing portions of the story. Use the locations and actions depicted in those entries to decide which lead to pursue next.
Continue with
 Outer Wilds Dark Bramble Guide: Reach the Vessel SafelyExplore Outer Wilds Dark Bramble, avoid anglerfish, find Feldspar, and follow Escape Pod 3's trail to the Vessel with clear routes through the foggy seeds.
More in Exploration
Outer Wilds Exploration Guide: Where to Go and Why
Use this Outer Wilds exploration guide to choose your next destination, read the ship's log, handle changing planets, and make each 22-minute loop count.
Outer Wilds Planets: A Guide to Every World and Moon
Explore Outer Wilds planets, moons, and space stations with useful tips for shifting sand, collapsing terrain, ocean storms, and the 22-minute time loop.
Continue exploring
Join the community
Official channels for news, updates and player help: