
Outer Wilds DLC Guide: How to Start Echoes of the Eye
Use this Outer Wilds dlc guide to find Echoes of the Eye, reach the Stranger, revisit its hidden areas, and navigate Starlit Cove with clear puzzle steps.
Jump to
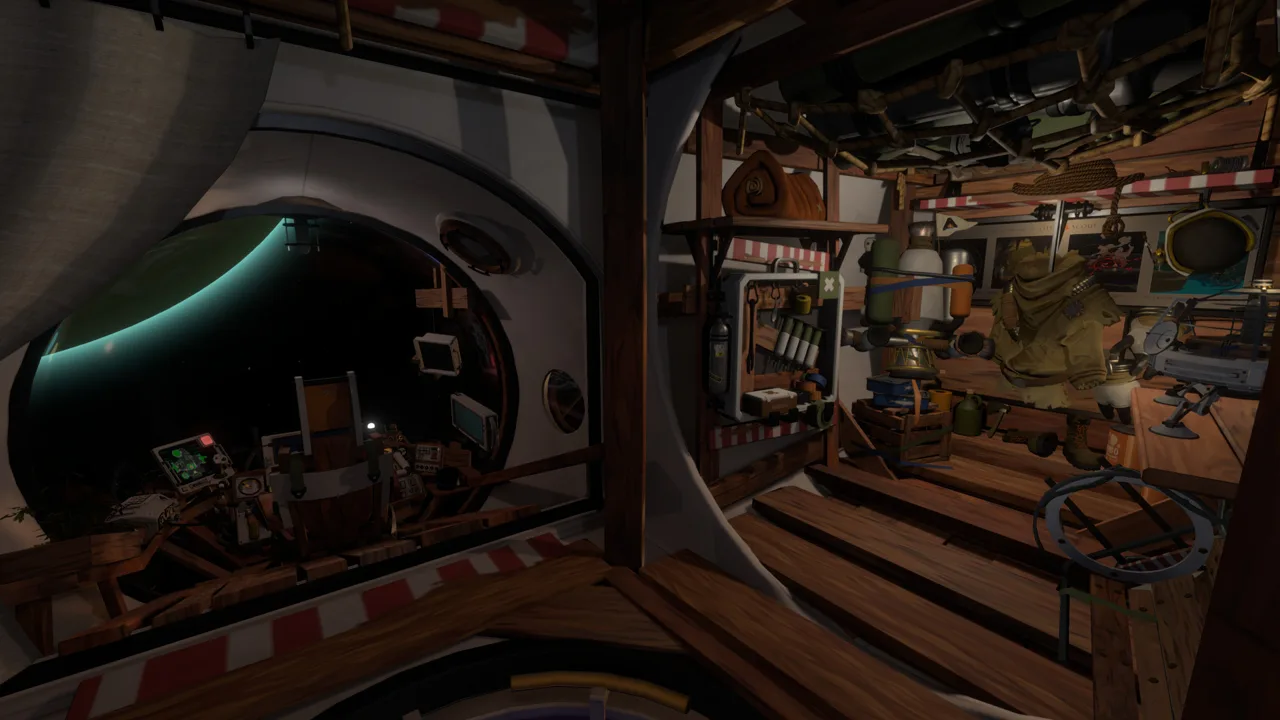
How to Start Echoes of the Eye
The entrance to Echoes of the Eye is a puzzle before the expansion even begins. This Outer Wilds dlc guide walks you from Timber Hearth’s museum to the Stranger, helping you reach the new adventure without wandering through unrelated locations. Start with the opening route below, then stop before the later sections if you want to solve the expansion’s deeper mysteries yourself.
You don’t need a completed base-game save to begin. The trail starts with a new museum exhibit rather than a separate campaign selection.
- Visit Timber Hearth’s museum. Find the new exhibit near the entrance introducing the deep space radio tower.
- Find the radio tower on Timber Hearth. Inside, examine the four satellite photographs labeled 40, 137, 248, and 350 degrees, and listen to the recording about an impossible object.
- Inspect the 40-degree photograph. Look for the small object partially covering the sun. The photograph featuring Gabbro isn’t the clue you need.
- Locate the deep space satellite. Open your map, zoom all the way out, and find its orbit above and below the planets’ orbital plane. Lock onto it and fly there.
- Watch the satellite’s angle display. Arrive early in the loop so you can observe the alignment at 40 degrees. The nearby recorder explains that the camera’s lens is working properly.
- Look toward the sun at that alignment. When the dark object appears against it, fly toward the object while it remains visible.
That flight leads you to the Stranger, the expansion’s central location. If you arrive after the satellite has passed the necessary angle, try again early in the next loop.
Official page: Outer Wilds (mobiusdigitalgames.com)
How to Return to the Stranger
You only need to solve the satellite alignment puzzle to discover the location. After visiting the Stranger, use its entry in your ship’s computer to place a HUD marker and navigate back.
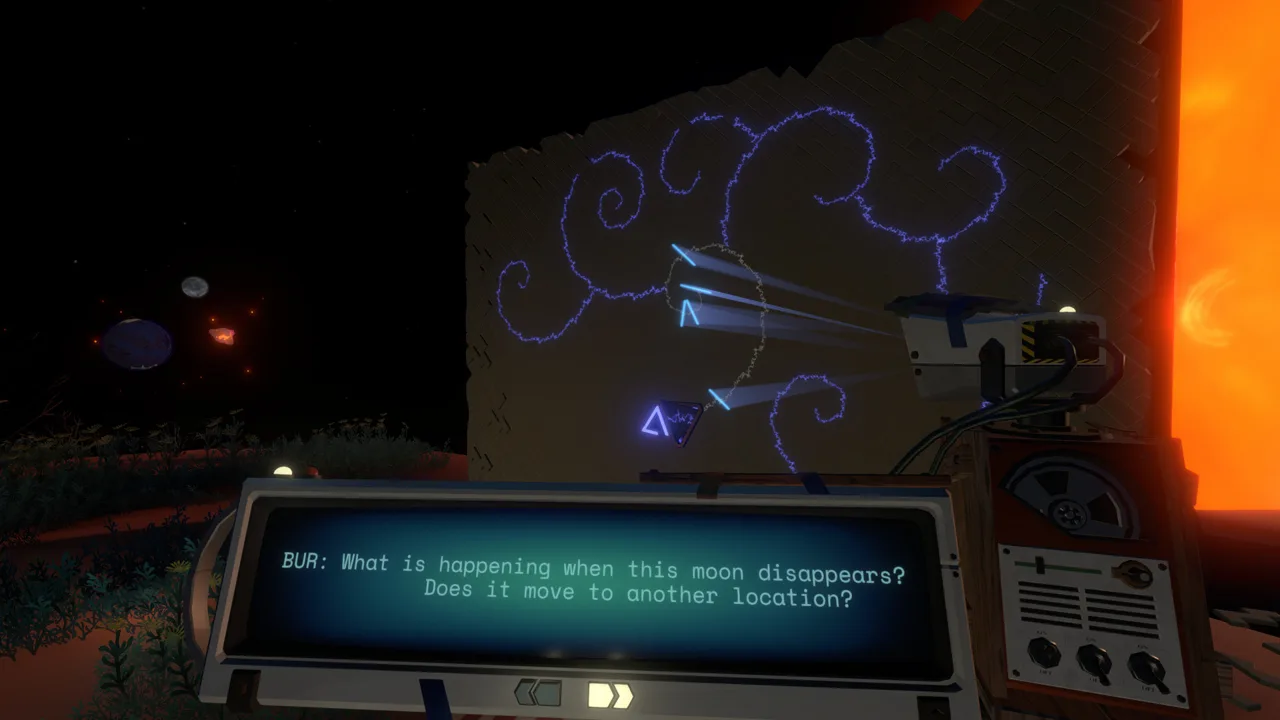 Image: Steam / Mobius Digital
Make marking the destination your first stop before takeoff on return trips. Repeating the museum and satellite investigation spends time you could use exploring.
The ship log also helps organize the expansion’s branching discoveries. Follow the location you’re currently investigating rather than treating every unexplored area as something you must finish during the same visit.
Explore the River Lowlands, Cinder Isles, and Hidden Gorge
The Stranger’s river connects several important exploration areas. Begin by learning the route and investigating the buildings along it; slide reels and their viewing equipment are central to understanding what happened here.
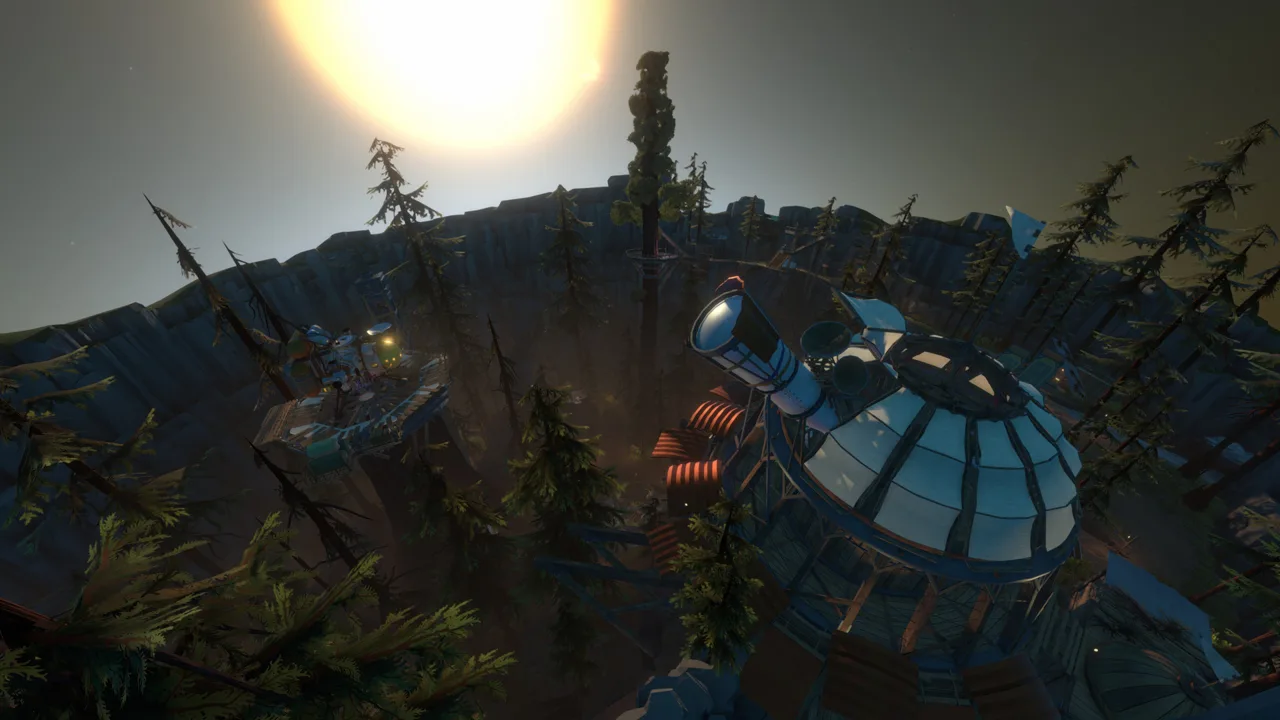 Image: Steam / Mobius Digital
River Lowlands
You emerge into the River Lowlands after entering the Stranger. A raft and the flowing river introduce the route through the new environment.
Search the surrounding buildings for reels, including hidden ones, and investigate how to provide light for viewing them. Examine the images carefully: the visual details are part of the mystery.
Cinder Isles
Continue to the Cinder Isles to investigate more huts, burned reels, a hidden lake, and the Ritual Tower. A refueling station is another useful landmark.
Use the tower and surrounding structures to orient yourself before moving on. Pay attention to the missing bridge when searching for the route toward Hidden Gorge.
Hidden Gorge
Hidden Gorge contains more burned reels, a hidden reel, a path involving ghost matter, and a locked room.
Treat those discoveries as separate leads. Investigate the room and reels, and examine the ghost matter route before committing to crossing it. Keeping each obstacle distinct makes it easier to recognize which new clue answers which question.
Find Your Bearings in the Other World
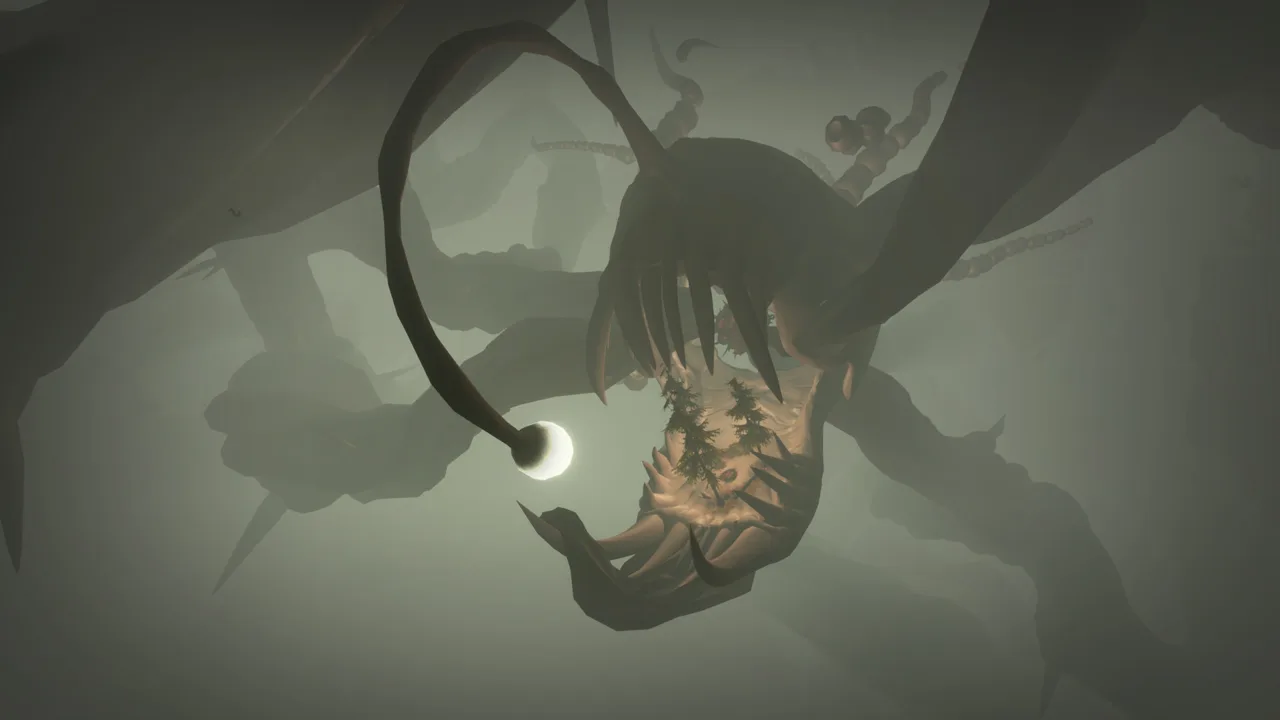 Image: Steam / Mobius Digital
Spoilers from this point include later locations and puzzle solutions.
Ritual Structures connect your exploration to another set of areas. Their entrances lead to different destinations, so remember which structure you used when investigating a new route.
The major areas include:
- Endless Canyon: Investigate reels and invisible walkways while avoiding patrolling inhabitants.
- Starlit Cove: Explore a settlement above the water, open its dock access, and work toward the archive beneath it.
- Shrouded Woodlands: Follow its route and clues as part of the broader investigation.
In Endless Canyon, watch for clues about where a walkway continues despite its appearance. In Starlit Cove, learn the lit paths before changing the area’s lighting; extinguishing the lights brings inhabitants onto routes you’ll need to traverse.
If reading the interface interrupts your exploration, these options are useful:
- Patch 14, released September 22, 2023, added Large UI Mode and improved text legibility.
- Steam Deck support: Following Patch 14, Outer Wilds became Steam Deck Verified with default settings.
Starlit Cove: Reach the Forbidden Archive
Starlit Cove combines branching paths, alarm bells, and inhabitants who become active after you extinguish the area’s lights. Explore its connections while the lights are still on so you know where the elevator, dock, and central staircase lead.
Open the dock and locate the lighting control
- Cross the opening bridge into the main area. The route divides into left and right paths.
- Explore the left path. Blow out the candle that opens the outside exit, then light the dock. This establishes raft access to and from Starlit Cove.
- Locate the elevator farther along the left route. It connects to the lower level and gives you another way through the settlement.
- Return to the right path. Pass through the candlelit cave. At the fork, the upward hand route loops toward the elevator; the downward route passes an alarm bell.
- Conceal your light to pass that bell. Continue to the raft heading toward the ruined building.
- Look behind the rocks on the canyon’s right side during the raft trip. Use the hand there to reach the lighting control.
- Extinguish the area’s lights. This opens the way down the central spiral staircase, but inhabitants now patrol the area.
Descend through the Memorial Room
Return toward the central staircase while avoiding the newly active inhabitants. Expect encounters near the right-hand route’s split and the small cave at the bottom of the left elevator.
The Memorial Room contains two more inhabitants when the lights have been extinguished. Move through it toward the staircase and elevator beyond. Watch the alarm bell overlooking the lower staircase: an inhabitant shining light on you can trigger an awakening there.
The elevator at the bottom leads to the second Forbidden Archive.
Account for the tower’s collapse
Events outside affect how long you can remain connected through the Island Tower:
- At 13 minutes into the loop, the dam breaks and the Island Tower tilts.
- At 20 minutes and 30 seconds, the tower falls, extinguishing the artifacts inside.
For a late-loop visit, enter through the Hidden Gorge campfire and use the connected routes to reach Starlit Cove. That connection lets you continue exploring after the Island Tower falls, until the loop ends.
Continue with
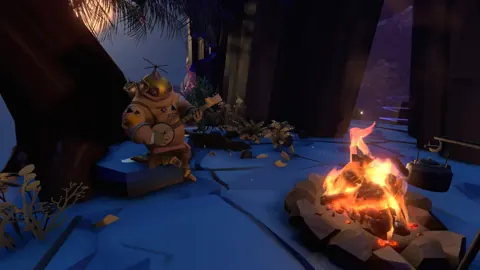 Outer Wilds Echoes of the Eye: How to Start the DLCStart Outer Wilds Echoes of the Eye with a step-by-step route to hidden DLC, tips for exploring the Stranger, and details on saves and PC requirements.
Continue exploring
Join the community
Official channels for news, updates and player help: