
Outer Wilds Dark Bramble Guide: Reach the Vessel Safely
Explore Outer Wilds Dark Bramble, avoid anglerfish, find Feldspar, and follow Escape Pod 3's trail to the Vessel with clear routes through the foggy seeds.
Jump to

How to Navigate Dark Bramble
A distant glow can be a doorway—or the lure of something big enough to swallow your ship. This Outer Wilds Dark Bramble guide walks you through finding Feldspar, Escape Pod 3, and the Vessel without flying blindly between lights. Follow your signalscope and Scout markers, then coast past nearby anglerfish instead of firing your engines.
Spoiler warning: The routes below reveal exploration puzzles, character locations, and Nomai discoveries inside Dark Bramble.
Fly toward the foggy core and enter one of its large openings. Inside, the shattered planet becomes a network of enormous chambers connected by seeds. These spaces are much larger than their entrances suggest, so ordinary distance and direction can be misleading.
The first chamber is the Hub Node. From here, different seeds lead toward Feldspar, Escape Pod 3, the red Nest, or a dead end.
Keep these navigation rules in mind:
- Use signals to choose entrances. The signalscope can detect music and distress signals through seeds.
- Distinguish large openings from small ones. Some admit your ship; others are only wide enough for the Scout.
- Expect duplicate signals. Multiple passages can connect to the same destination.
- Treat each crossing as a new approach. Entering a seed reduces your speed and sets your direction, regardless of your original approach angle.
Backtracking also behaves strangely. Leaving a chamber through its entrance returns you to Dark Bramble’s exterior rather than retracing the entire route.
If you enter a chamber with no onward seed, you have reached a dead end. Another chamber contains a seed that leads back into itself. Leave through the entrance instead of repeatedly following that loop.
Official page: Outer Wilds (mobiusdigitalgames.com)
How to Avoid Anglerfish
Anglerfish are blind and hunt by sound. Your ship’s thrusters, your suit’s thrusters, and Scout launches can attract them when used nearby. Once an anglerfish charges, trying to accelerate away is a dangerous gamble.
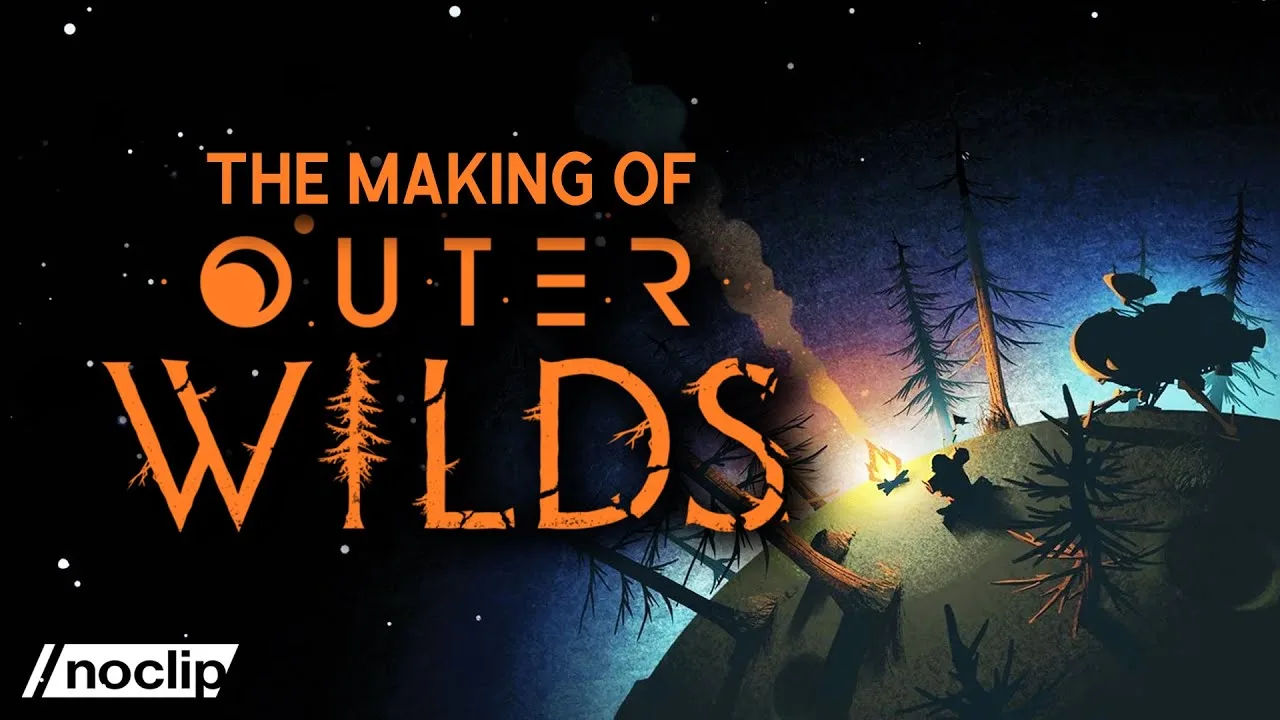
Coast whenever you are close to a fish. Releasing thrust lets you continue drifting without continuously announcing your position.
Use this approach while crossing an occupied chamber:
- Identify your destination with the signalscope or Scout marker.
- Set your course while you have room to maneuver away from nearby fish.
- Release thrust and drift past them.
- Make necessary course corrections after putting distance between yourself and the predators.
Avoid using every visible light as a destination. Anglerfish lures resemble the glowing seeds, and the fog hides the animal behind the light.
Gentle engine adjustments can help elsewhere, but do not rely on a small thrust input as guaranteed protection at close range. The red Nest entrance is the place to be especially patient: several anglerfish wait directly along your arrival path.
Launch the Scout for navigation before approaching predators rather than firing it beside them.
Find Feldspar and the Frozen Jellyfish
Feldspar’s harmonica gives you a route through the fog. Tune your signalscope to the Outer Wilds Ventures frequency and follow the music.
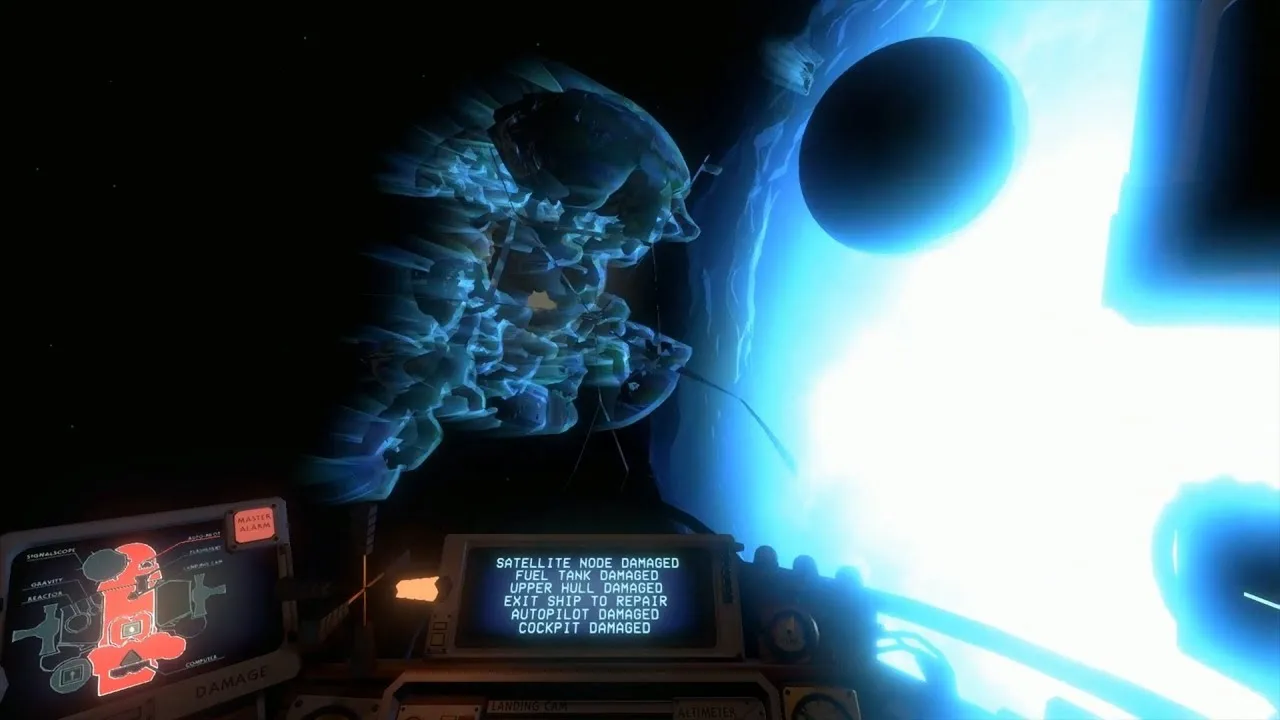
Follow the Harmonica to Camp
- Enter the core and locate the seed carrying Feldspar’s harmonica signal.
- Pass through it into a chamber containing numerous seeds.
- Sweep those seeds with your signalscope. Several openings carry the same music because they connect to Feldspar’s location.
- Choose a signal-bearing opening large enough for your ship.
- Continue toward the harmonica until you reach the anglerfish skeleton housing Feldspar’s camp.
The maze chamber and Feldspar’s camp contain no living anglerfish. The glowing lure at camp belongs to the skeleton, so you can approach it.
Talk to Feldspar and explore their dialogue, particularly the question about reaching the core of Giant’s Deep. Their answer points you toward a nearby discovery.
Reach the Frozen Jellyfish
Head behind the skeleton toward its tail. A flickering light marks Feldspar’s damaged ship beside a hollow vine.
Keep clear of the ship itself: its faulty electrical system can shock you. Go around it and enter the vine, then follow the passage left and upward to a hidden crack in an exterior ice fragment.
The frozen jellyfish and Feldspar’s notes explain that the creature’s outer body insulates its interior from electricity. Read the notes both outside and inside it. This discovery supplies a clue for exploring Giant’s Deep rather than another route deeper into the bramble.
Find Escape Pod 3 and the Nomai Grave
For the escape pod route, start from outside Dark Bramble and enter the core again. Tune your signalscope to the distress beacon frequency, then follow the signal through the appropriate seed.
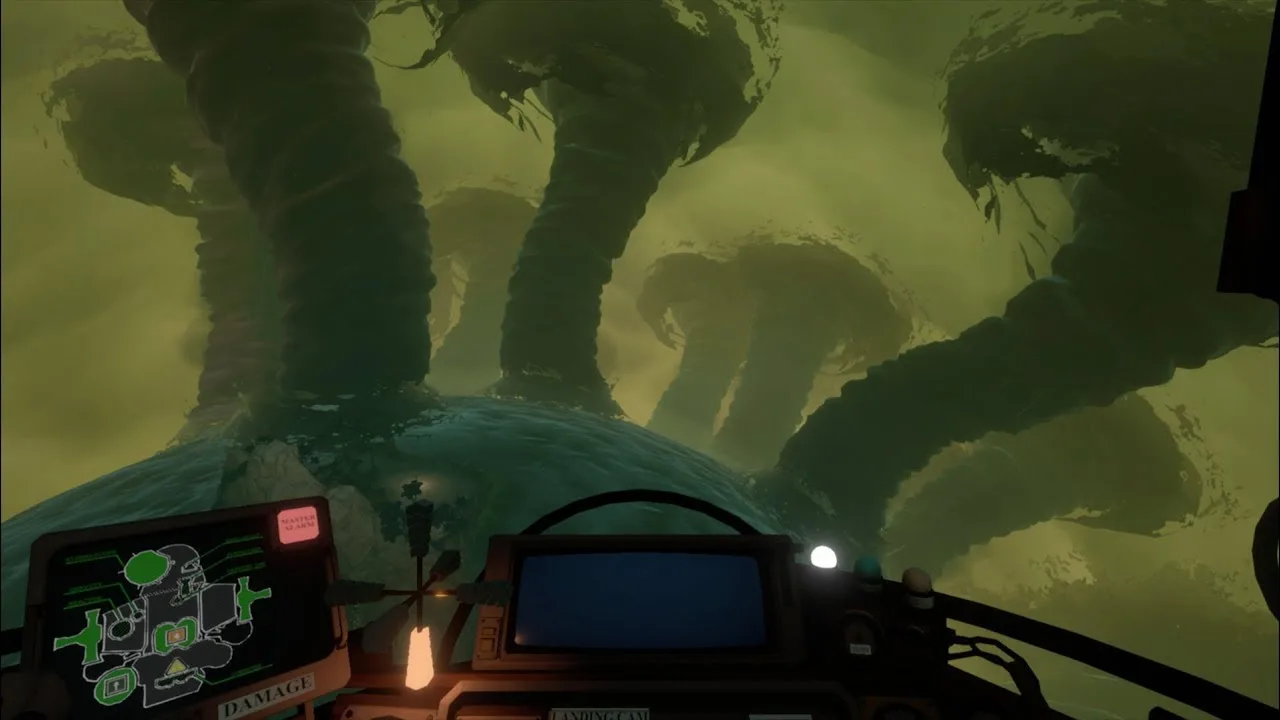
Use the signal instead of memorizing a left or right turn. Your ship’s orientation can change during the approach.
Explore Escape Pod 3
At the pod, work through its interior before following the trail outside:
- Enter and read the Nomai recording in the hallway.
- Examine the computer to learn what happened after launch.
- Continue to the emergency exit and open the door.
- Read the recording near the exit about the survivors’ departure.
The pod’s movement and communications systems were damaged, and its air supply was running out. The survivors attempted to return to the Vessel, leaving lights behind them.
Follow that light trail to the Nomai Grave. It ends at a small seed surrounded by the remains of the escape pod’s occupants.
Read the message here before moving on. The survivors detected two identical Vessel beacons and followed the nearer one, only to reach an opening too small to enter. Their destination was connected to this seed, but they could not physically pass through it.
Send the Scout Through the Small Seed
Fire your Scout into the opening and use its camera to check that it has reached the Vessel’s chamber.
A duplicate Scout signal gives you a route to another entrance leading to the same location. Keep the Scout deployed while you follow that marker through the larger passages.
Do not try to squeeze yourself or your ship through the grave’s seed. This opening is a scouting point; the ship-sized route goes through another chamber.
Reach the Vessel Through the Red Seed
Follow the duplicate Scout signal toward the red-glowing seed. This entrance leads into the Nest, where the red light comes from anglerfish eggs deeper inside.
Three anglerfish wait near the entrance. Prepare to coast before crossing the seed, then resist the urge to correct your course immediately when they appear.
- Approach the red seed with your destination identified.
- Release thrust as you cross into the Nest.
- Drift past the entrance guards without firing your engines.
- Once clear, follow the Scout marker toward the seed leading to the Vessel.
- Enter that seed and continue toward the Scout.
The Vessel’s entrance seed does not glow. Search along the marker rather than choosing another bright opening: several other seeds in the Nest lead into the looping chamber.
The last stretch can feel painfully slow, especially with anglerfish filling the view. Let your existing momentum carry you past them instead of making a nervous correction beside their mouths.
Explore the Vessel’s Interior
The Vessel’s chamber contains no anglerfish. Approach the ancient ship and look for a tunnel entrance in its side near where your Scout arrived.
Inside the control room, examine the broken warp core in the center. Follow the spiral ramps upward and read both walls of Nomai writing.
The records reveal why the Nomai made their jump into this solar system and how their arrival went wrong. Other messages show distant Nomai clans communicating with one another, including their memories of Escall’s vanished Vessel. Read both sets of messages before leaving; they connect the wreck in front of you to the wider Nomai story.
Continue with
 Outer Wilds Exploration Guide: Where to Go and WhyUse this Outer Wilds exploration guide to choose your next destination, read the ship's log, handle changing planets, and make each 22-minute loop count.
More in Exploration
Outer Wilds Planets: A Guide to Every World and Moon
Explore Outer Wilds planets, moons, and space stations with useful tips for shifting sand, collapsing terrain, ocean storms, and the 22-minute time loop.
Outer Wilds Ship Log Guide: Symbols and Missing Clues
Use the Outer Wilds ship log to follow rumors, read map symbols, and track down missing entries, with targeted tips for Chert, the Vessel, and other clues.
Continue exploring
Join the community
Official channels for news, updates and player help: